This is a basic refresher on how to dig a snowpit and test snowpack stability. To fully understand avalanche safety and protocol, you need to take a certified avalanche safety course.
How to Dig a Snowpit
1. Take a certified avalanche safety course. Did I say that already? Ok, I'm saying it again. Avalanches take many lives every year. We want you to go out there and have fun, but we also want you to come back and tell us how awesome it was.
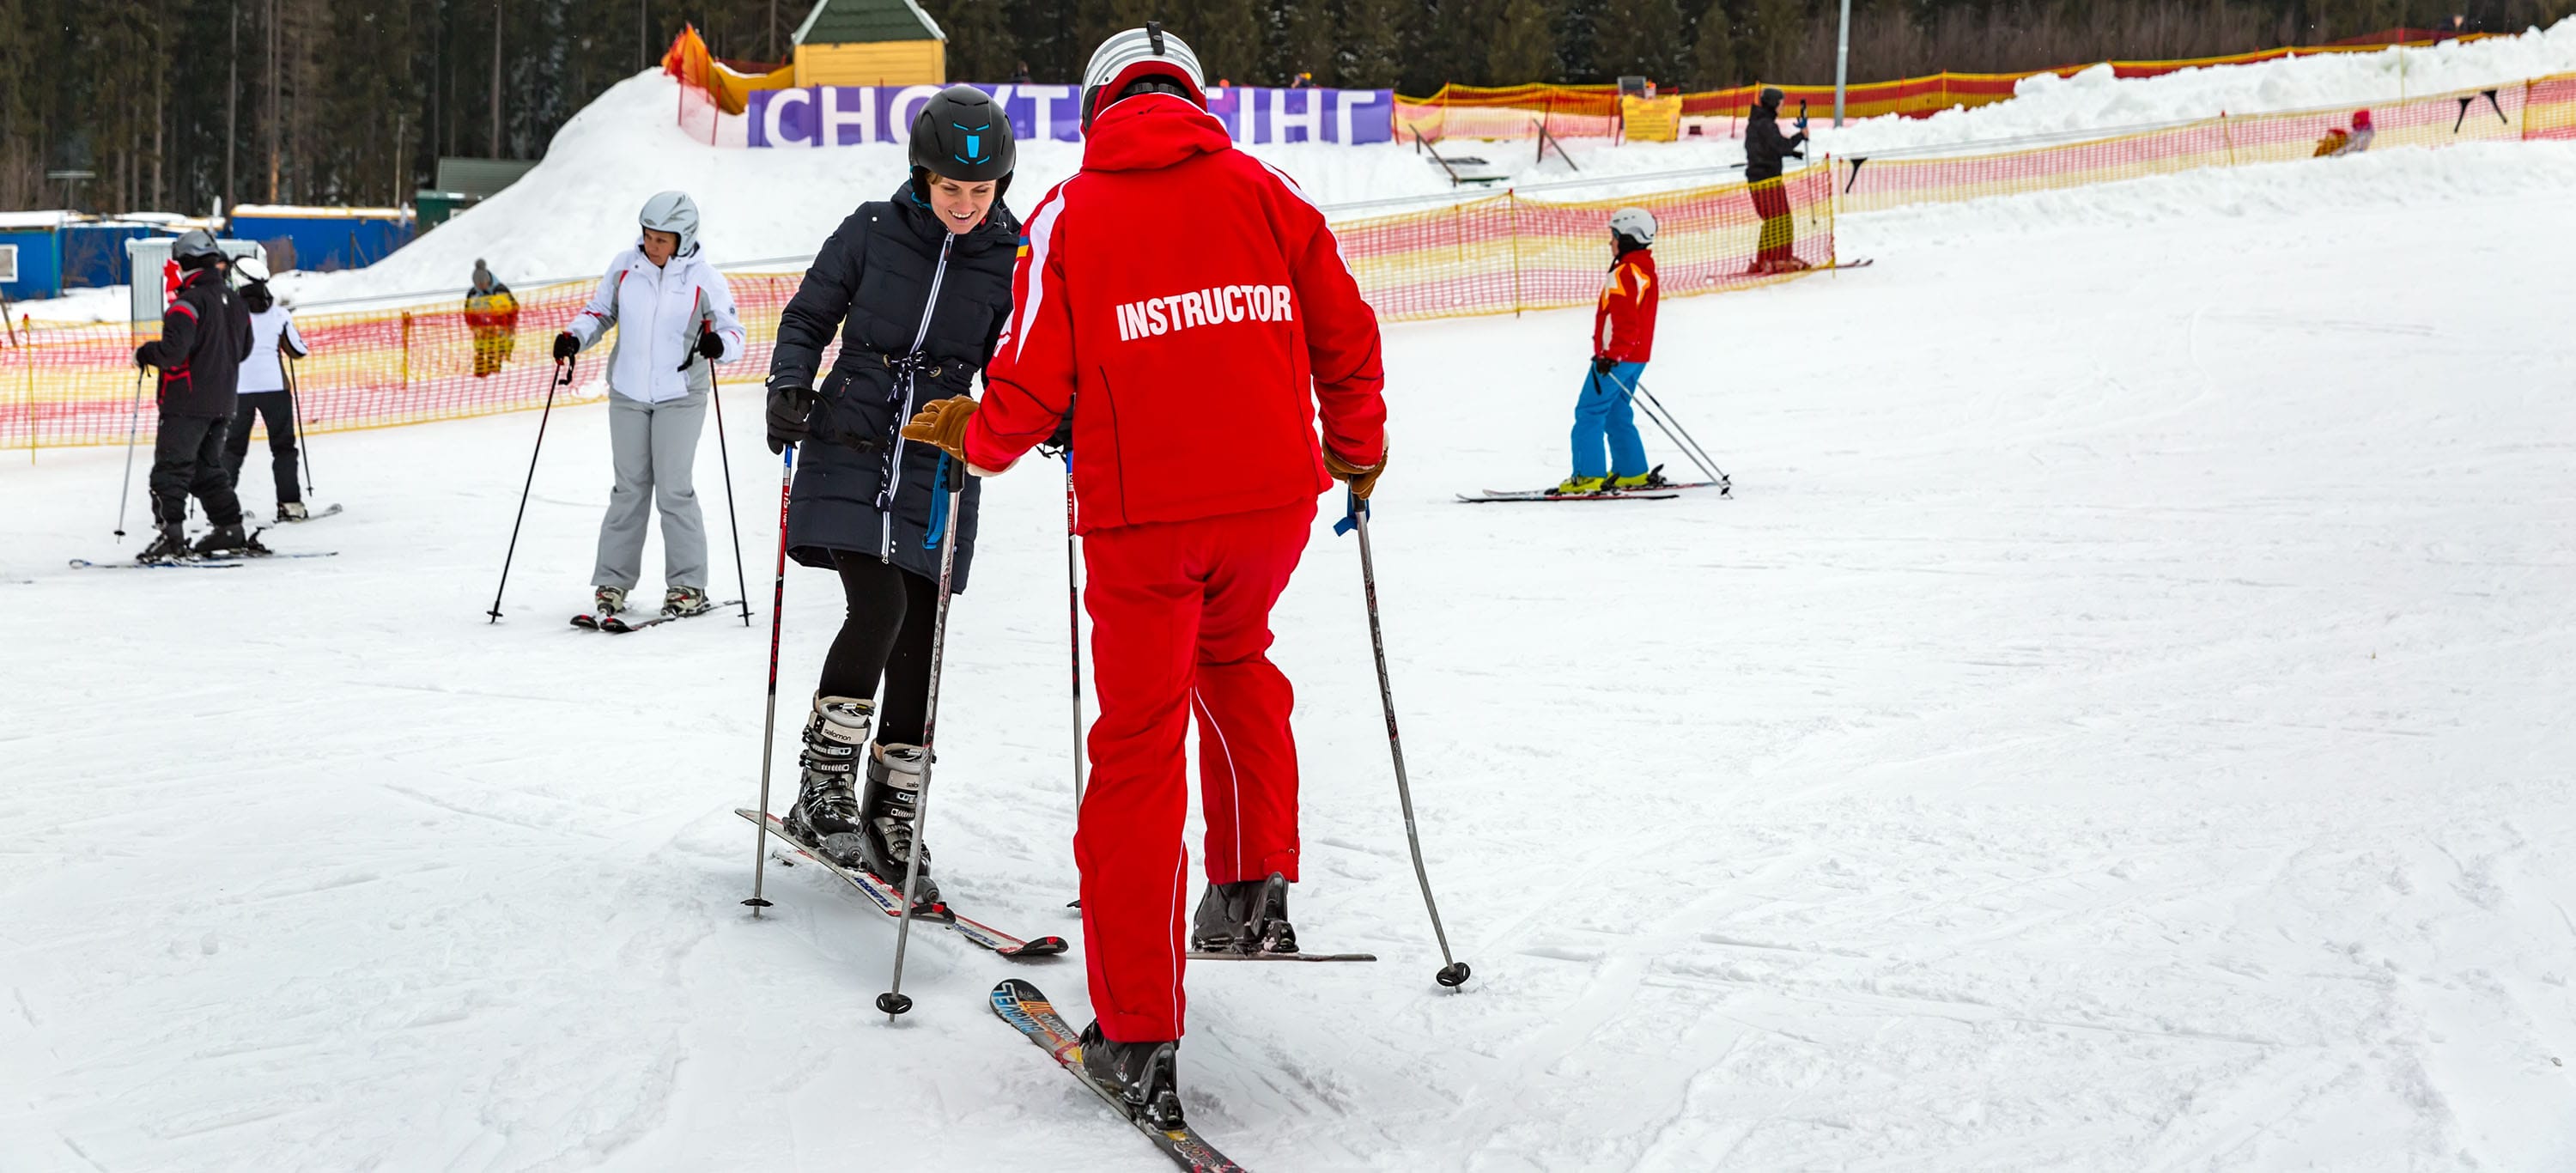
 An avalanche safety course in progress
2. Find a representative location to dig your snowpit. If you're not digging a snowpit in a location that's representative of where you're headed then your results are worthless. Find a test slope that doesn't put you in danger if it slides. Some like to start on slopes that seem to pose no threat and then work their way to slopes that have more avalanche potential. When looking for a place to dig a snowpit, the National Avalanche Center says to "look for neutral, open areas at mid slope without wind effects."
Learning how to find a representative location for a snowpit can be complicated, and it's one of the many skills you'll learn in an avalanche safety course.
3. Probe with a ski pole or probe. Test the depth and see if you can feel a weak layer. If your probe is meeting some resistance as you push and then suddenly falls through, you've found a weak layer. You'll also be probing for a representative depth -- you want to avoid digging on top of a rock, for instance.
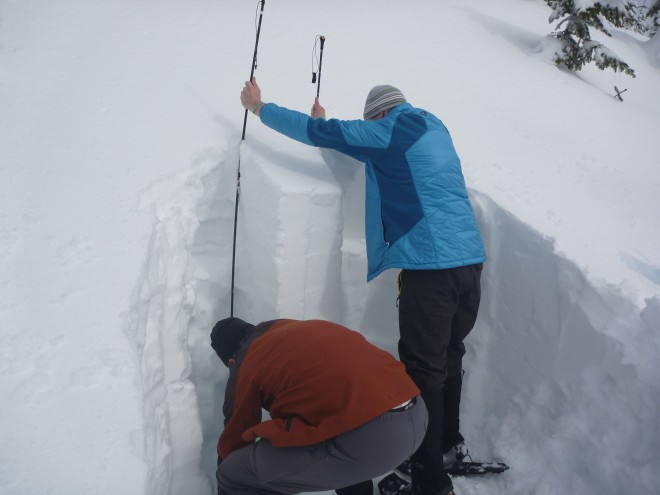
4. Get down on one knee and shovel. Make the hole about the width of your ski length. Unless you know you need to go deeper to analyze week layers, keep your snowpit depth between 1.5 and 2 meters (5 and 6.5 feet). Shovel out the downhill side of the slope and push the snow downhill behind you, creating room for you to work.
How to Test Snowpack Stability
Once you've dug your snowpit, you need to do some tests to get a better idea of the stability of the snowpack.
1. Get out your tools. You already have your avalanche shovel and probe. You'll also need a snow saw; a cord can be helpful, too.
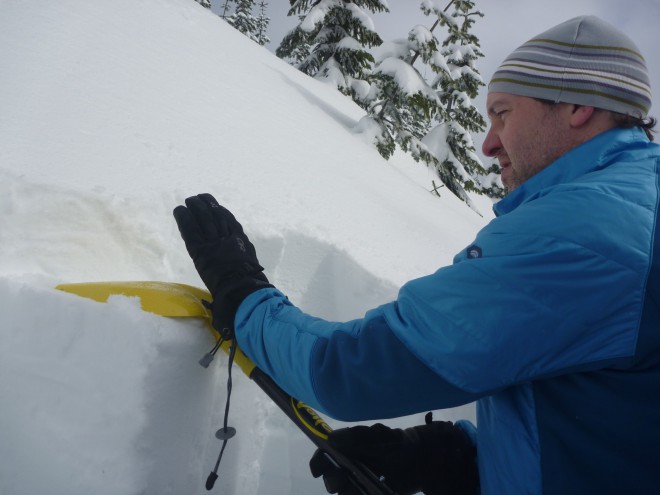
2. Feel and observe the snow layers. Run your hands (they can be mittened) over the layers and observe them. Weak layers will quickly crumble away as you run your hands over them, while strong layers will remain intact. Then stand back and look at the layers. Then feel them again. Testing the snow pack is the whole point of digging the snowpit. Get as much information as you can.
3. Smooth the face of the pit for further stability testing. Once you've gotten as much information as you can from feeling and looking at the snow layers, completely smooth the snowpit side with a snow saw to prepare for testing.
4. Isolate snow columns for testing. You can do a shovel-sized test (30cm wide by 30cm up the slope) and an "extended-column" test (90cm wide by 30 cm up). Try using a cord and/or probe to measure and a snow saw to cut the column section in order to completely isolate it.
5. Complete a stress/stability test. A common stability test is called the "compression test". Place your shovel blade on top of the column and give it ten firm taps from the wrist, then ten firm taps from the elbow, then ten from the shoulder, using the weight of your arm. Watch for the column to break down. A clean shear with tapping from the wrist is an obvious sign of avalanche danger. A weak "slump" observed with tapping from the shoulder isn't considered dangerous.
Note: You'll need much more information than this short paragraph to fully complete stability tests. To get more information on how to do snowpit tests, take an avalanche safety class and go to the National Avalanche Center's website for some additional reading.
6. Once you've dug your snowpit and tested for stability, you need to do it all again. You're testing for a pattern of instability. In order to create reliable test results, you must dig your snowpits and do all of your tests in the same way every time. Rather than spend a lot of time analyzing and digging one big snowpit, it's better to dig several smaller ones that can be used to analyze the entire area.
That wraps up our short guide on how to dig a snowpit. Let us know if we missed anything!
*Blog photos courtesy of Laurel F, and featured photo courtesy of Matt Kern.