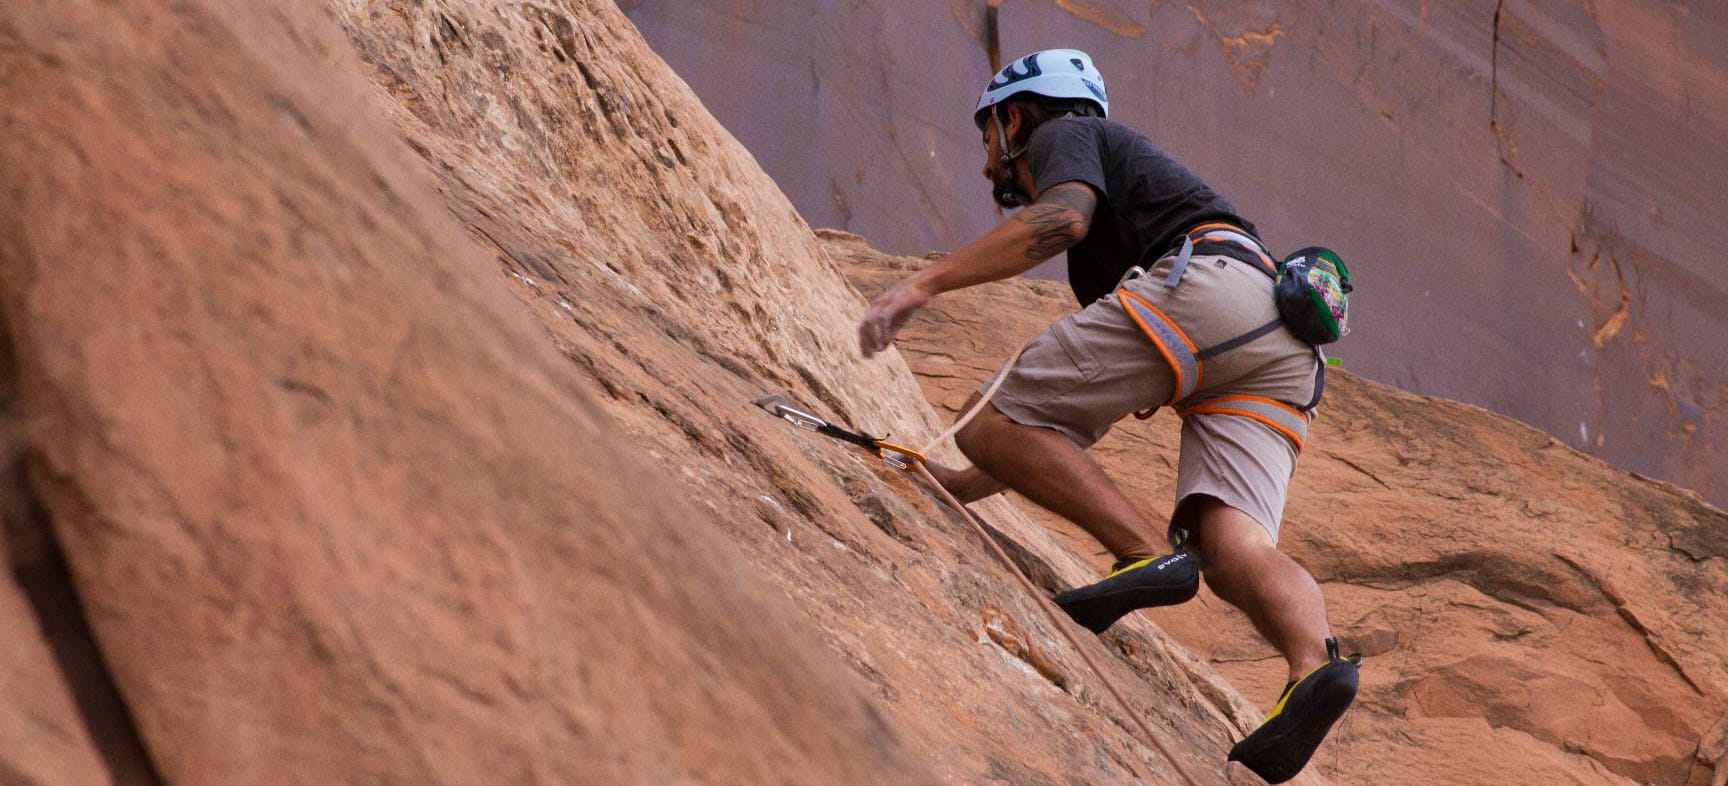
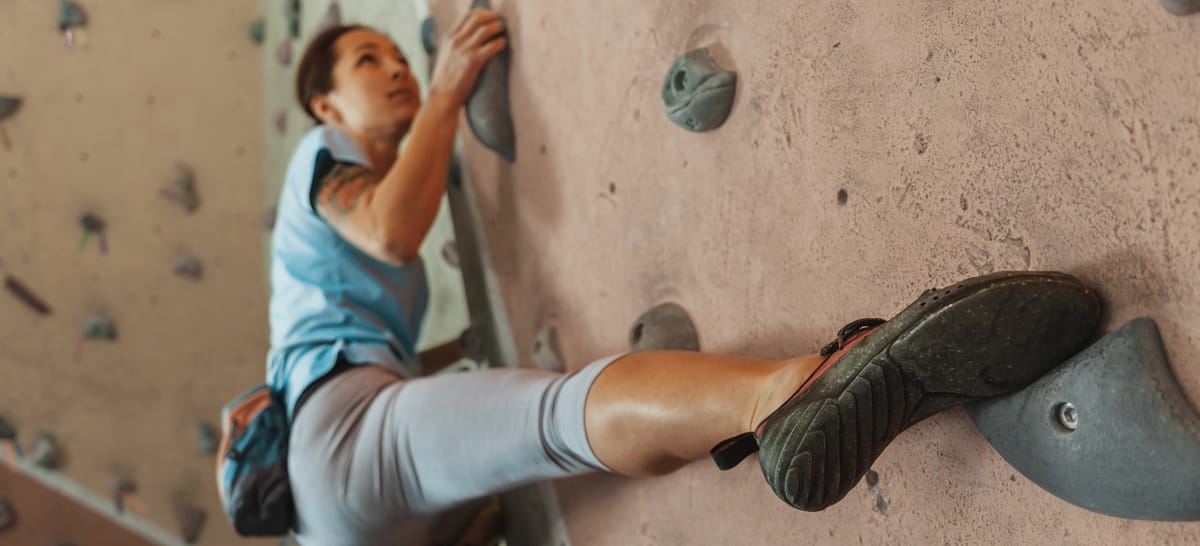
This simple but sturdy knot is easy to learn. Follow these instructions to safely secure yourself while rock climbing.
How to Tie a Figure 8 Knot
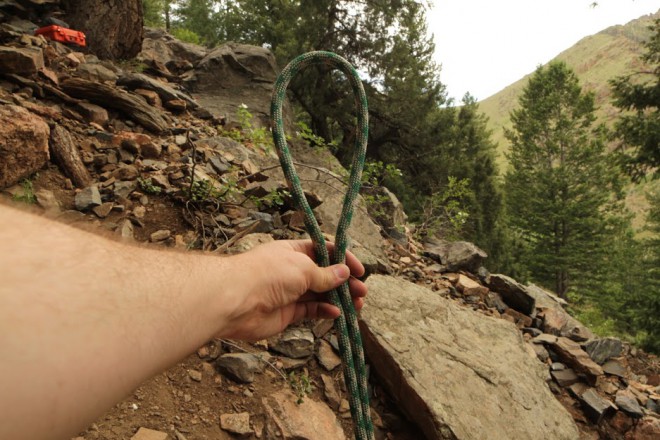
Step 1: Make a loop with your rope, leaving a few feet of extra rope for you to work with. If you like learning things in a fun way, think of this step as making a balloon.
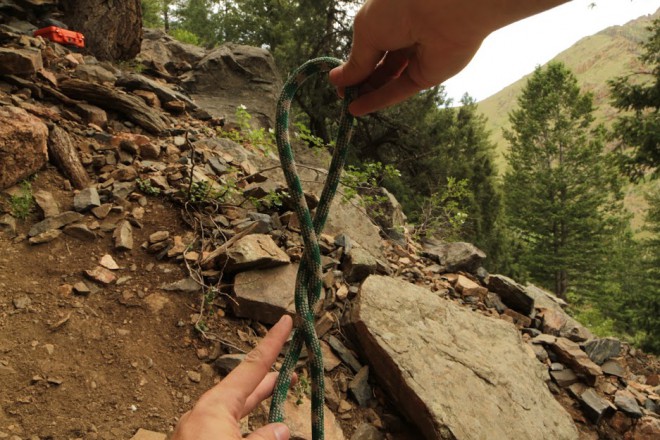
Step 2: Wrap the working end of your rope around the bottom of the loop. Bring the working end over the pinched section of your loop, wrap it behind and end with it in front of the loop. Another way to think of this? Tie off your balloon.
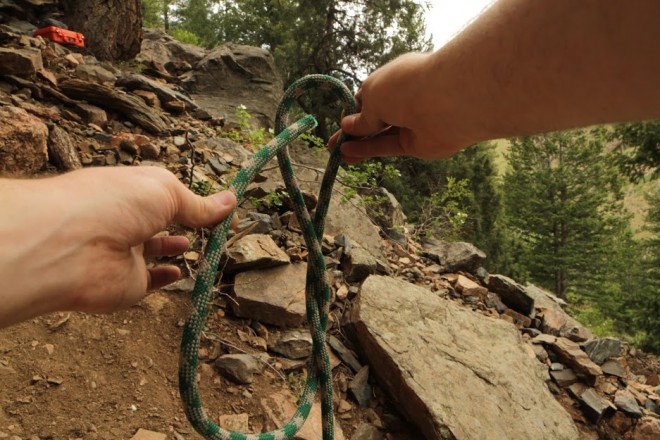
Step 3: Insert the working end of the rope into the loop and pull. For the fun learners out there: pop the balloon!
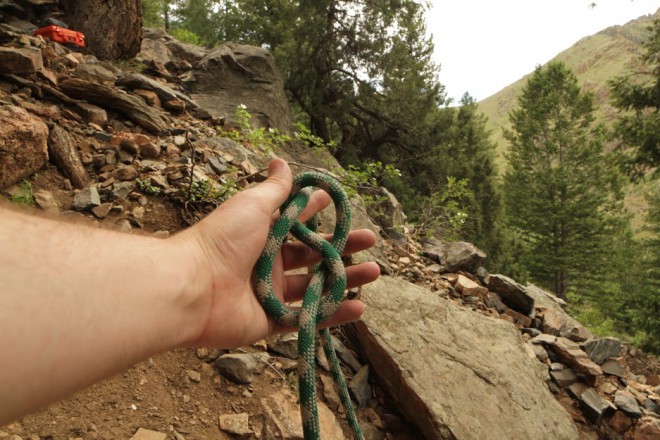
Step 4: Once you pull the working end of the rope through the loop, you'll have your figure 8 knot.
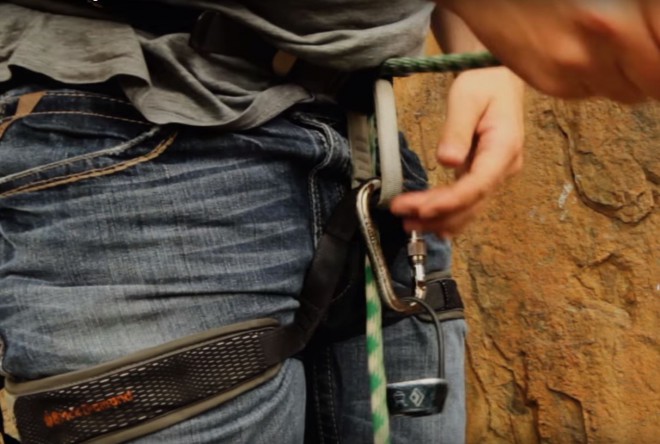
Step 5: Feed the working end of your rope up through the front two loops of your climbing harness. Pull the rope through so that the figure 8 knot is close to your harness.
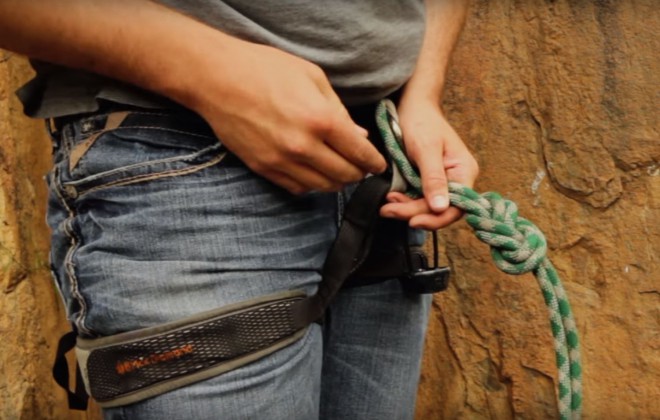
Step 6: Trace the figure 8 knot with the working end of the rope. In other words, follow the knot you just made with the rope you fed through your harness. Your knot should resemble the knot in the photo below when you are finished. It's easy to check your work when making a figure 8 knot, so if your knot does not look like this photo, follow the part you just traced to see where you might have gone wrong.
That's it! Now you have a figure 8 knot to keep you safe while rock climbing.