-
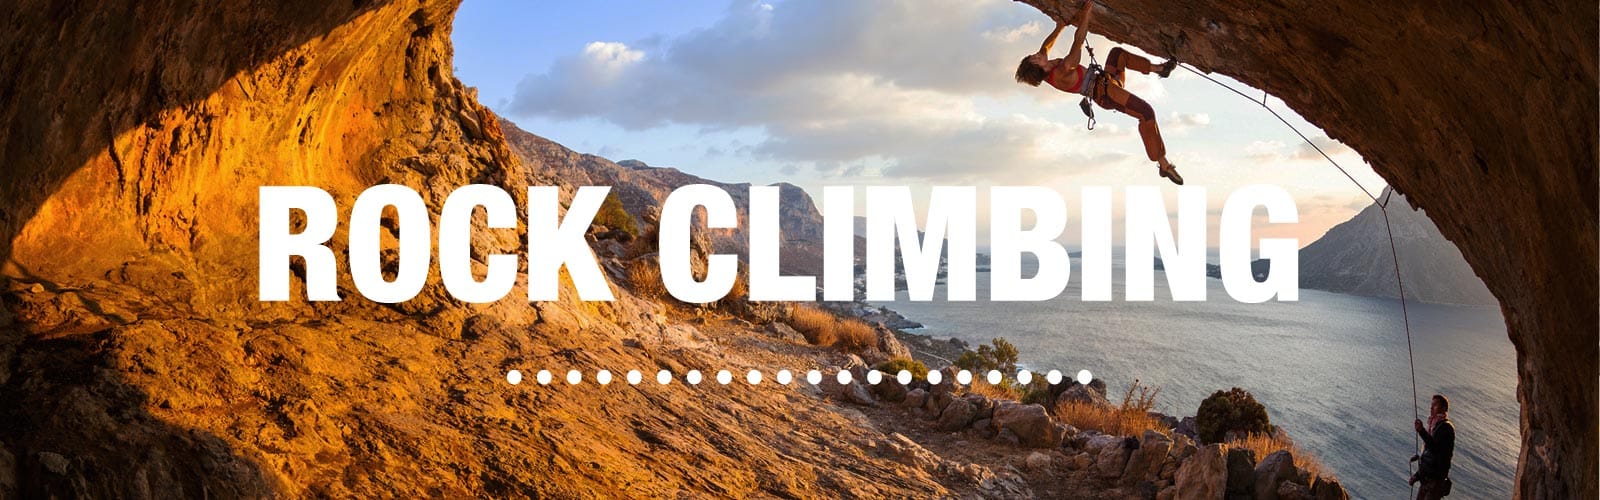
Of all the outdoor sports in the world, few are more exhilarating than rock climbing. However, you don’t even have to be outside to enjoy the thrill and challenge of rock climbing. Most major cities throughout the world have at least one or more indoor climbing gyms available to the public. Even some fitness gyms and community centers are equipped with an indoor climbing wall. There are also dozens of different clubs and organizations that provide rock climbing clinics to beginners at an affordable price, sometimes even for free. If you’re interested in learning to rock climb, there are probably resources available in your area.
Before you look into a rock climbing class or clinic, it’s a good idea to have a basic understanding of the various types of rock climbing. In this section, we’ll discuss the primary disciplines and what sets them apart from one another.
Indoor Rock Climbing
Indoor climbing is performed on man-made climbing walls, which are typically anchored to existing interior walls or to a free-standing structure. Indoor climbing walls are covered with a variety of molded handholds and footholds that emulate natural rock formations. These holds are often marked with colored tape to designate specific routes, which may be graded according to difficulty. Indoor climbing walls are either setup with a top rope belay anchor or bolted anchors with pre-attached quick-draws. Beginners should learn how to climb and belay using a top rope setup before advancing to lead climbing techniques. Indoor climbing is a great way for anyone to learn how to climb, belay and use equipment safely in a controlled environment.
Outdoor Rock Climbing
Climbing a rock wall in the great outdoors is an amazing experience and something everyone with a taste for adventure should consider trying. Being outside in the fresh air and exploring stunning locations makes outdoor rock climbing very appealing. Of course, climbing outdoors also requires additional knowledge and preparation. In most popular climbing locales, pre-existing routes are already graded according to difficulty, but these routes may not be clearly marked. A climbing guidebook can usually provide more insight into route location and difficulty. Outdoor climbing routes may have climbing protection and/or anchors pre-installed (i.e. bolts). Some don’t. Unbolted routes require either top roping or traditional climbing protection to be used. If you’ve never been climbing before, it’s very important to learn proper techniques from an experienced climber or enroll in a reputable climbing course designed for beginners.
Top Roping
“Top roping” involves setting up an anchor point at the top of an indoor or outdoor rock wall. Next, a climbing rope is passed through the anchor so that both ends of the rope reach the ground below, thus the rope must be more than twice as long as the vertical distance being climbed. One end of the rope is securely tied to the climber’s harness. The other end is placed through a belay device which is attached to the belayer’s harness. Once the anchor, climber and belayer are secure, the climber may begin her ascent. As the climber ascends, slack will begin to develop in the rope. It’s the belayer’s job to prevent too much slack from forming. The belayer will also use his belay device to arrest a fall, should one occur. Belaying is a skill that must be learned and practiced before a climb.
Lead Climbing
Rather than using a single anchor point at the top of a route, lead climbing utilizes multiple anchor points, called protection, which are placed along the course of an ascent. As the lead climber ascends, he will either clip into existing protection (such as pre-installed bolts) or place his own temporary protection into cracks in the rock face (such as chocks and cams). Instead of taking up slack, as with top roping, the belayer must let the rope out as the lead climber ascends, watching closely to arrest any potential falls. There are two primary types of lead climbing:
Sport climbing involves climbing routes with pre-installed bolts that are permanently affixed to the rock face. Climbers typically use quickdraws to clip their rope into these pre-installed bolts as they climb. It’s important for sport climbers to inspect each bolt during the course of a climb, keeping an eye out for loose or damaged bolts. If you find a loose or damaged bolt, halt the climb immediately and be sure to inform a local climbing club. Just like any piece of gear, bolts eventually wear out and need to be replaced.
Trad climbing (traditional climbing) requires the lead climber to place temporary pieces of protection during the ascent. To do this, a climber usually inserts cams, chocks and other types of climbing protection into cracks in the rock surface. Each piece of protection is wired to a carabiner, which is then clipped onto the climbing rope. Trad climbing takes more specialized skills, including the ability to locate good placement points.
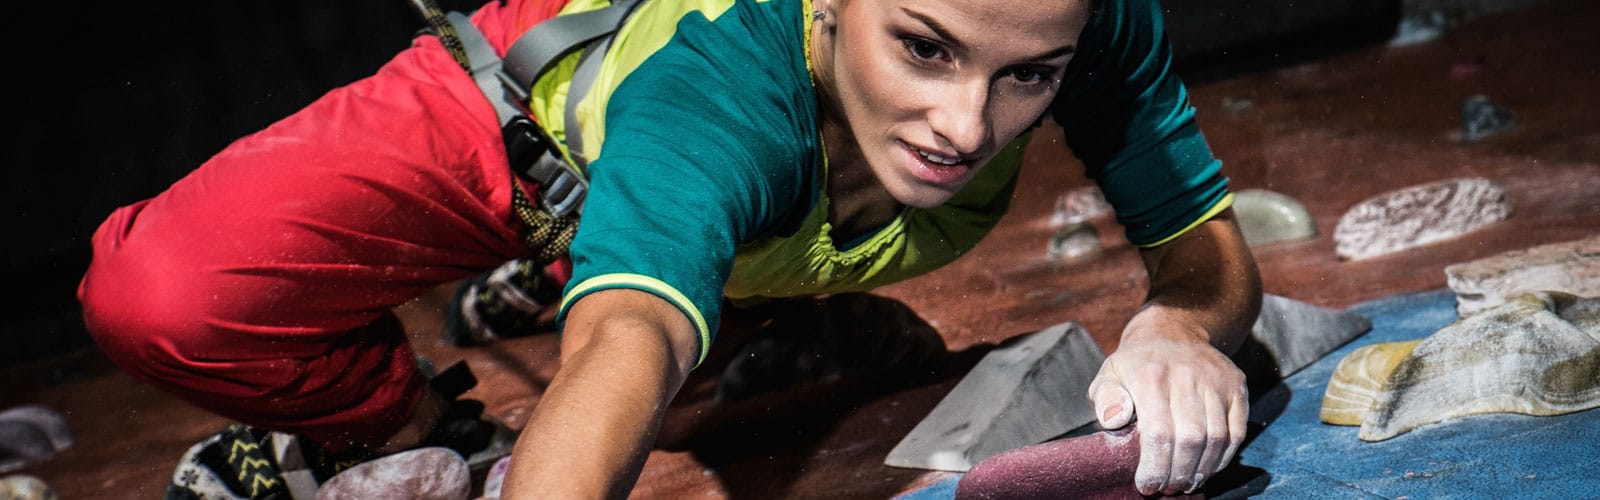
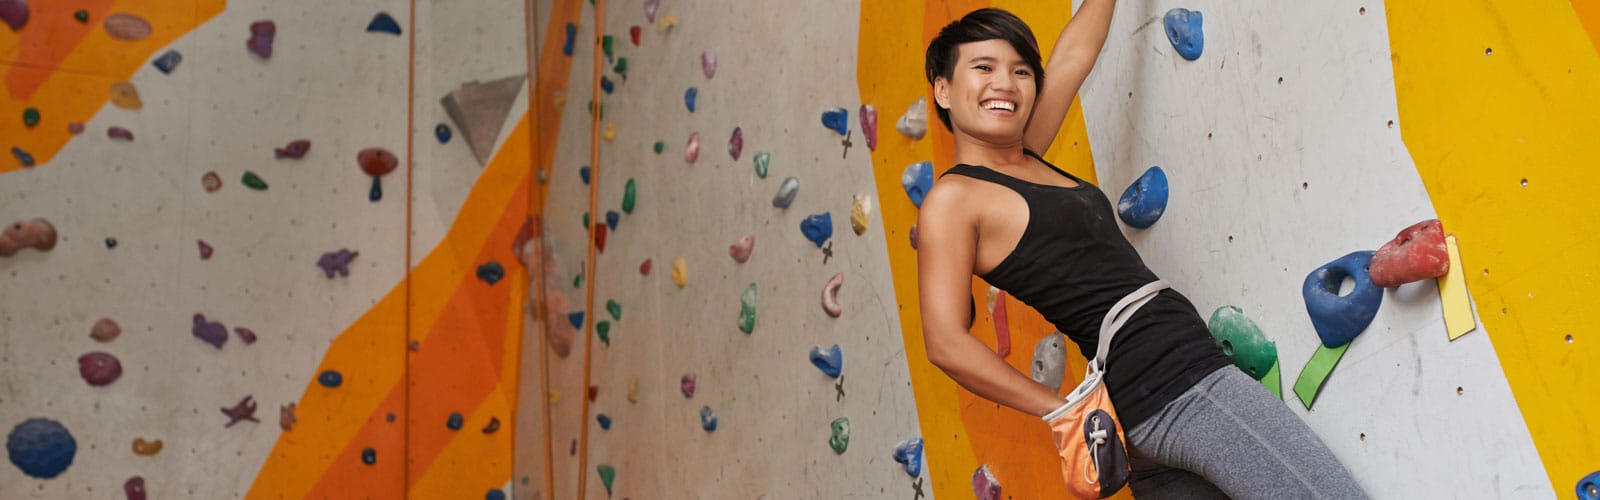
Bouldering
Although many consider bouldering to be a separate sport from climbing, the physical skill is essentially the same. Bouldering involves climbing short, often vertical or partially inverted routes without the use of ropes or harnesses. Climbing large boulders is popular, hence the name of the sport, although bouldering routes are typically more challenging than climbing routes. For safety, climbers spot one another and usually place thick foam pads, called crash pads, on the ground beneath the climber. In the event of a short fall, the spotter ensures that the climber breaks his or her fall on the crash pad.
-
Yosemite Decimal System
Used mainly in the US and Canada, the Yosemite Decimal System is an ascent difficulty grading system. This system is used to determine the level of skill and equipment needed to safely summit a mountain or other geological feature. According to Climber.org, there are five classes:
Class 1: Hiking and ascending along designated trails and easy terrain. No navigation or technical equipment needed.
Class 2: Hiking and ascending with the occasional use of the hands. Easy to moderate terrain. No technical equipment needed. Trails may or may not be clearly designated. Some navigation may be required.
Class 3: More frequent scrambling on steeper, rugged terrain. A rope and harness may be carried, but are not necessarily required. Some potential for dangerous falls, but no vertical faces and limited exposure.
Class 4: Areas of exposed climbing and scrambling. Ropes are often used for safety when traversing these sections. No extended vertical faces, but still a high potential for dangerous falls in some areas. May require crampons and winter climbing equipment.
Class 5: Technical rock and ice climbing is required to navigate vertical rock faces, ice, snow and/or challenging alpine terrain. Frequent exposure with a high potential for dangerous falls. Harnesses, rope, belaying and other protection hardware are required for safety.
Beyond Class 5: The fifth class of the Yosemite Decimal System is further divided into sub-classes ranging from 5.0 to 5.14. These are used to determine the difficulty of a rock face that requires free climbing (usually sport climbing or traditional climbing). Classes 5.0 through 5.6 are generally considered to be easy to moderate in difficulty. Classes 5.7 through 5.10 are usually considered to be moderate to advanced. Classes 5.11 through 5.14 are expert level routes and only accessible by the most skilled climbers. Classes 5.10 through 5.14 also have sub-classes, designated with the letters a, b, c and d. For example, a route may be graded as 5.11b, 5.13c, etc.
Other Grading Systems
There are several other types of route grading systems, including the British system, French system and Australian system. Each has a slightly different methodology for ranking difficulty and each uses a different format. Check out the climbing grade comparison chart at Mountain Torq for a comparison between the Yosemite Decimal System (North American), French, Australian and British systems.
-

From belay devices to chalk bags, there is a lot of different climbing gear out there. Some gear is essential for certain climbing disciplines. Other gear is optional. In this section, we’ll cover many of the most commonly used types of climbing gear.
Climbing Rope
The primary purpose of climbing rope is to arrest any falls during a climb. For this reason, ropes intended for climbing are usually "dynamic," meaning they are designed to stretch slightly. This stretching is called elongation and helps absorb the load force that is applied to a rope during a fall. For top-roping, less elongation is ideal because fall distances are usually very short. For lead climbing, falls can potentially be longer, so ropes with a greater amount of elongation are usually best. For rappelling, a static line may be used (i.e. a rope that does not elongate).
It’s important to keep track of the number of falls a rope has sustained, including the severity of those falls. Most climbing ropes are designed to withstand a certain number of “moderate” falls. This is usually indicated as “fall factor” or a UIAA fall rating (number of falls). According to Duane Raleigh of Rock and Ice magazine: “Think of a rope as water in a five-gallon bucket. Every time you fall, you dip out a cup in terms of energy absorption. Eventually, the bucket, and the rope’s ability to absorb energy, is drained.”
For this reason, climbers should keep a record of how many falls their rope has sustained, including the severity of those falls. Over time, falls will cause a climbing rope to lose elasticity and become less resistant to impact forces. A rope that has experienced moderate falls equal to its UIAA fall rating or a single severe fall should be retired. Also, be sure to cut retired climbing ropes into smaller pieces so that they cannot be used by another person.
Climbing Rope Specifications
Regular, dry and double dry climbing ropes are the three most common types of dynamic rope. Regular climbing rope doesn’t repel water, which isn’t an issue on a dry, sunny day. However, if it starts to rain, your rope could begin to absorb water, becoming heavier and less safe. Dry climbing ropes have a core that will not absorb water. Double dry climbing ropes have a core and sheath that both repel water. If you think you’ll be climbing in wet conditions, always choose a dry climbing rope. For very wet and/or snowy conditions, choose a double dry climbing rope.
Climbing rope diameter is usually measured in millimeters, ranging from about 8mm to 11mm. A thicker climbing rope is heavier, but also stronger. A thinner rope is lighter, but less durable.
Climbing rope length is usually measured in meters. Ideal rope length depends on the type of climbing and the route being climbed. For example, in order to top-rope belay a 30 meter rock face, climbers will need a rope that is at least 65-70 meters in length.
Static elongation refers to the length the climbing rope will extend when a climber is suspended motionless from it.
Dynamic elongation refers to the maximum amount a climbing rope will stretch in the event of a fall. Ropes with higher dynamic elongation are better suited for lead climbing. Ropes with less dynamic elongation are better suited for top-rope climbing.
UIAA fall rating refers to the number of “moderate” falls a climbing rope can withstand under laboratory conditions. For more information on these conditions, review the UIAA Safety Standards.
Impact force is the maximum impact a climbing rope can withstand without breaking, measured in kilonewtons (kN).
Carabiners, Quickdraws and Belay Devices
Carabiners are metal links, usually made of aluminum, that are designed to open and close with a spring-loaded mechanism, called a gate. Carabiners are frequently used as connectors between rope, harnesses, protection and other equipment. Carabiners come in several styles, including non-locking, locking and auto-locking versions. True climbing carabiners will always be engraved with strength ratings in kN. If a carabiner isn't engraved with strength ratings, don't use it for climbing.
Quickdraws are made by joining two carabiners together with a length of high-strength nylon webbing or Dyneema®, which is usually stitched to keep the carabiners in place at either end. Quickdraws allow sport climbers to quickly attach the rope to a fixed bolt.
Belay devices are primarily used for belaying, although many can also be used for rappelling. A belay device allows a belayer to safely slow and/or stop the flow of rope through the device, thus arresting a fall. Belay devices come in a variety of styles. It’s very important to learn how to use a specific belay device properly before attempting to belay a climber. Below are the two most common variations:
- Tubular belay devices are the most widely available, lightweight, affordable and easy to use. However, these devices require slightly more hand strength compared to an assisted braking device. The Black Diamond Equipment ATC is a widely used tubular belay device.
- Assisted braking belay devices are designed to assist the belayer when applying braking force to the rope. Essentially, this type of device requires less hand strength to slow or stop the flow of rope. This makes it much easier to arrest a fall, hold a climber that is suspended from a rope or lower a climber. However, using an assisted braking belay device correctly is often more complex than using a tubular device. The Petzl Grigri 2 is a popular assisted braking device.
Climbing Harnesses
Most climbing harnesses fall into one of the following categories: multi-purpose, sport, big wall and alpine (mountaineering). Each climbing harness style has the right amount of padding and appropriate features for the intended climbing style. For example, sport climbing harnesses are typically lighter, less bulky and have more minimal padding compared to big wall harnesses. However, big wall harnesses are usually more comfortable over longer periods of time and typically have more gear loops.
All harnesses have an adjustable waist belt. Be sure your waist size falls within the preset range of the harness you choose. Although many climbing harnesses have adjustable leg loops, some models don’t. When choosing a harness that does not have adjustable leg loops, be sure to measure your thigh circumference first to make sure the harness will fit comfortably.
Climbing Protection
Climbing "protection" refers to gear that is either temporary or permanently affixed to a climbing surface. Protection creates a linkage between the climbing rope and the climbing surface. Below are some of the most common types of climbing protection (often called “pro” by climbers):
Active protection is any protection with moving parts or mechanisms. Active protection is often designed to expand and increase holding pressure inside a crack as pulling force is applied. Spring-loaded cams are the most popular example.
Passive protection is any protection without moving parts or mechanisms. This type of protection often has a wedge shape that can be slotted into cracks. Tapers and chock nuts are two popular examples of passive protection.
Pitons are metal spikes that are hammered into small cracks in a rock face. Pitons are largely frowned upon by the modern free climbing community because they can damage rock surfaces. However, pitons are still occasionally used for aid climbing. Some free climbers also carry one or two pitons for emergency situations, when a cam or chock placement can’t be located.
Bolts are a type of permanent climbing protection that is affixed directly to a rock surface with a threaded metal bolt. Although climbing bolts are considered to be permanent placements, old bolts can become loose over time and must eventually be removed. Always test bolts when sport climbing and never use a loose bolt as protection.
Other Climbing Gear
Webbing is a type of tubular nylon that can be looped to create runners. Webbing runners may be used to create a climbing anchor, but can also be used for other applications.
Accessory cords can be used to make runners and slings, such as Prusik slings or cordelettes.
Slings are loops of webbing or cord with specific uses. A prussik loop is one example.
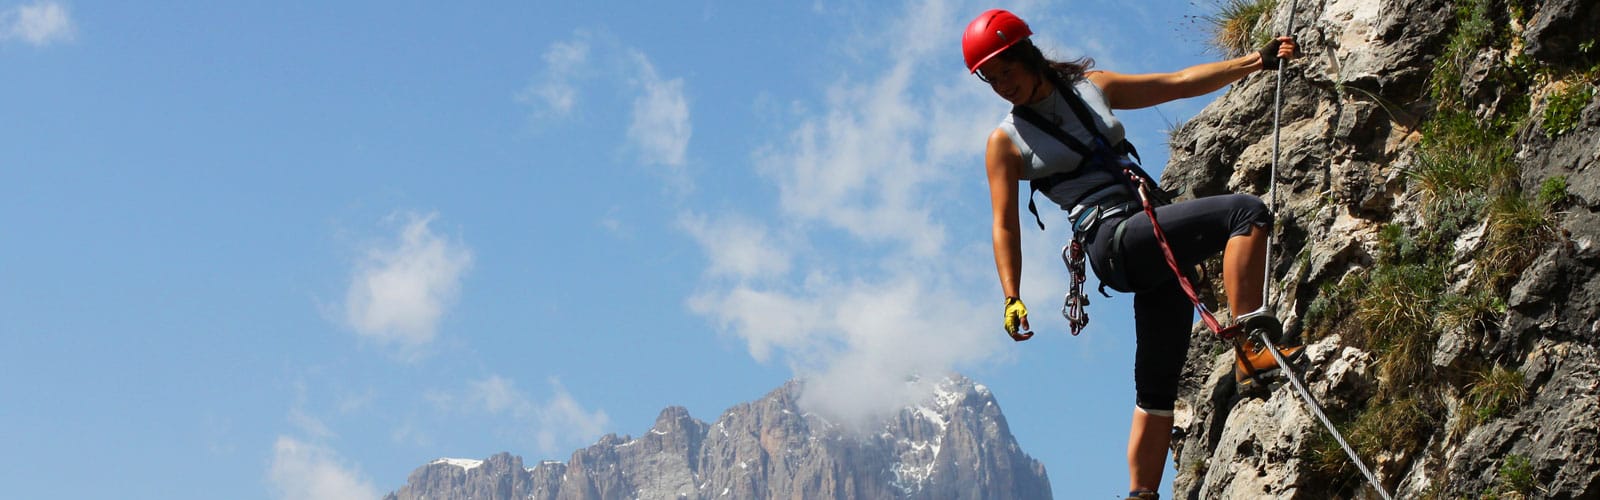
Climbing helmets should be used for every type of outdoor climbing except non-technical mountain climbing. A climbing helmet is primarily designed to protect the head from falling objects.
Crash pads are designed to provide a padded landing surface when a climber falls during a bouldering problem. Crash pads should always be used in combination with spotting. A spotter helps guide a falling climber onto the crash pad.
Chalk bags keep climbing chalk secure and close at hand. A chalk bag can either be clipped onto a harness or worn separately on a webbing belt for bouldering.
Backpacks are ideal for carrying gear during an alpine climb. Backpacks may also be used to haul extra gear when climbing a big wall.
Headlamps provide convenient, hands-free illumination. When climbing outdoors or in the mountains, it’s always a good idea to carry a headlamp, just in case the group becomes stuck outside after dark.
-

Before you look into buying climbing gear, it’s not a bad idea to familiarize yourself with strength ratings, since they appear on many items like carabiners, quickdraws and slings. Most strength ratings appear in metric units, specifically in kilonewtons (kN). One kN is equal to about 225 lbs. of force, or the strain of about 225 lbs. of weight hanging motionless without added force from falling. In other words, a 150-pound person hanging from a rope is exerting 0.67 kN on the rope and other connective gear. However, if that person fell 15 feet, they would put a much greater force on the equipment. Climbing rope, carabiners, harnesses and other protective gear are generally designed to withstand a “moderate” fall force. For this reason, it’s important to use proper belay techniques and protection placement to avoid long falls, which put greater strain on ropes and equipment.

The International Mountaineering and Climbing Federation or UIAA (Union Internationale des Associations D'Alpinisme) and the European Community equipment safety organization (CE) both test climbing gear in order to assign strength ratings. All climbing equipment that has been tested by one of these organizations will depict either the UIAA safety label and/or the "CE mark." For more specific information on UIAA safety standards check out the UIAA website.
-

Climbing Footwear
Rock climbing shoes are lightweight, form-fitting shoes that fit very snugly on a climber's feet. Most climbers wear them without socks, allowing them to “feel” the rock better. Climbing shoes have rounded rubber toes and sticky, wrap-around rubber soles designed for gripping small footholds on vertical rock faces. There are a few things to consider when choosing a pair of climbing shoes, including the shape of the last, the type of closure (laces, straps or slip-on) and the fit. For more detailed information, check out our article on How to Choose Climbing Shoes.
Approach shoes are a hybrid type of shoe that fall in between climbing shoes and hiking shoes. Approach shoes have sticky rubber soles, similar to climbing shoes, but are shaped more like sneakers, which makes them easier to walk in. Approach shoes are a good choice if you plan on doing some light hiking and bouldering, but nothing too extreme.
Climbing Clothing
General climbing clothing includes lightweight T-shirts, shorts and pants designed for scrambling and climbing. A gusseted inseam is a great feature to look for in climbing shorts and climbing pants. This design helps prevent blowing out the crotch of your shorts or pants as you stretch out for a difficult foothold. Brands like Gramicci, prAna and Patagonia all offer pants designed specifically for rock climbing. Ideally, climbing shirts should be made of a light, breathable and moisture-wicking material like nylon or a poly blend. These materials tend to dry much faster than cotton. If you’ll be climbing outside for several hours at a time, it’s also a good idea to look for clothing with built-in UPF sun protection. Check out our Sun Protection Guide for more info on UPF factor.
-
1. If you’re just learning to climb, get together with a knowledgeable climber, local climbing club or guide company. This way, you can learn from people with experience. Safe climbing techniques are not something people should try to teach themselves.
2. Thoroughly research the area you will be climbing, so you can be prepared for anything, from potential weather to navigation. Don’t just wing it and don’t assume you can climb something. Some outdoor locations don’t allow climbing or only allow climbing with a permit.
3. Never head into the winter backcountry without first knowing how to recognize avalanche conditions and without checking with local authorities on the current snow conditions.
4. If you’ve been sport climbing before and are thinking about getting into trad, remember that frequent falling is not acceptable in this discipline. Temporary anchors are not as reliable as bolts, so keep this in mind when choosing routes. Placing protection properly and frequently can be a life-saving skill. Learn by going out with an experienced climber, let them lead and watch what they do. Ask lots of questions and learn as much as you can before attempting to lead a climb. Better yet, practice leading techniques while on a top-rope belay.
5. Check out our First Aid and Outdoor Safety Guide for more information and tips on staying safe in the great outdoors.
-
This guide is intended to provide an introduction to basic climbing information and gear. This is not a substitute for a climbing course or program. Climbing, mountaineering and other related activities are inherently dangerous. Anyone purchasing or using equipment for this purpose is personally responsible for getting proper instruction on its correct and safe use. Please seek out a professional climbing guide or certified climbing instructor to address any questions you may have about climbing gear or gear usage.